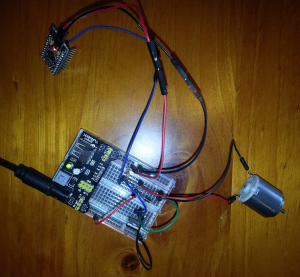
For one of my projects I needed to drive a small motor at different speeds, so I gave this a go by reading and learning more about what is required.
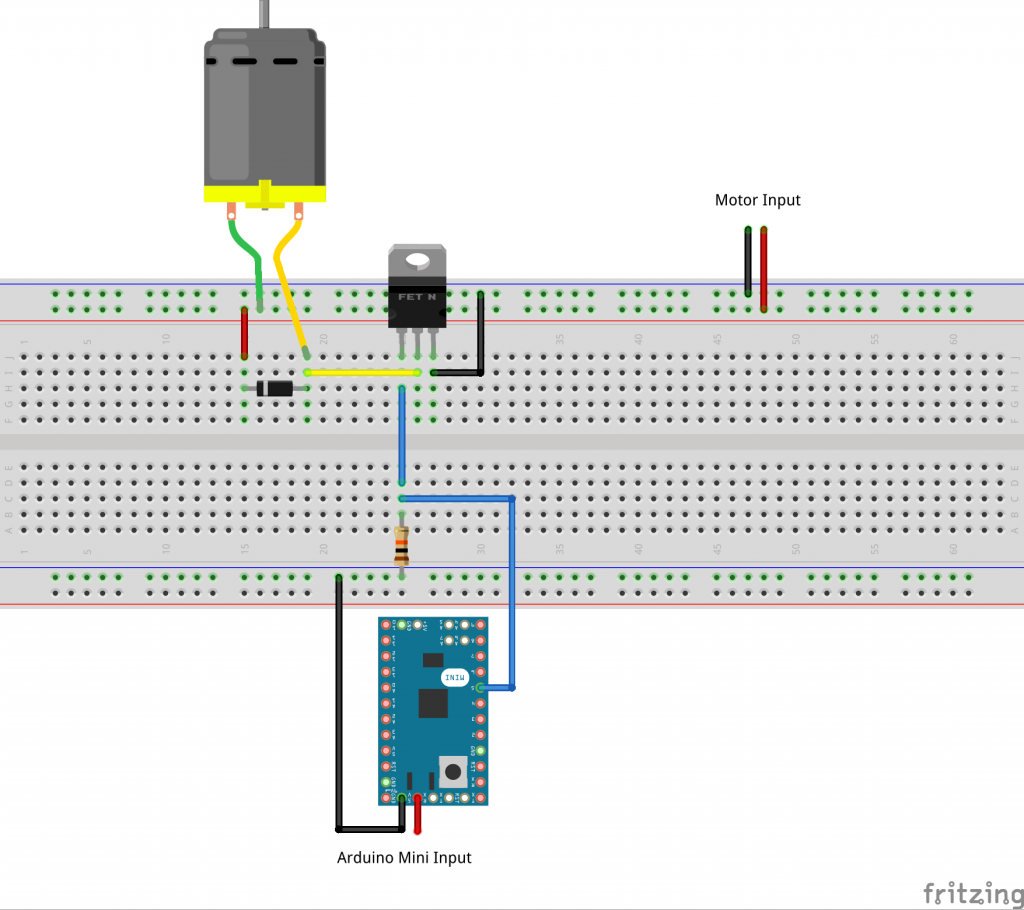
We can achieve that with an Arduino microcontroller by using PWM signals. For this project I am using an Arduino Mini clone, and decided to drive the motor with a N-Channel MOSFET (voltage controlled transistors), activated by a PWM signal.

Keeping the frequency of the signal constant, and varying the width of the “on” time vs the width of the “off” time (changing the duty cycle), will make the motor spin at different speeds.
The signal values that Arduino expects for the duty cycle is from 0 to 255 and it can be set by using the function analogWrite(pin, value). By providing a different duty cycle value to our Arduino pin (in my case PWM pin number 5), the motor will spin at different speed.
Material Used
- Arduino Mini clone
- Small DC motor (3 – 4.5V input, 23g/cm)
- N-Channel MOSFET – FQP30N06 (up to 60V and 30A)
- Diode – 1N4001 or similar (to prevent reverse currents from the the motor)
- 10kΩ resistor (used for pull-down)
- Correct voltage input/voltage regulators for both the Arduino and for the motor
Video
Video of the three speeds DC motor working prototype
Schema
Sample Codes
Three speeds DC motor code:
Slowly increasing speed DC motor code:
That’s it for today, and have fun with your projects!